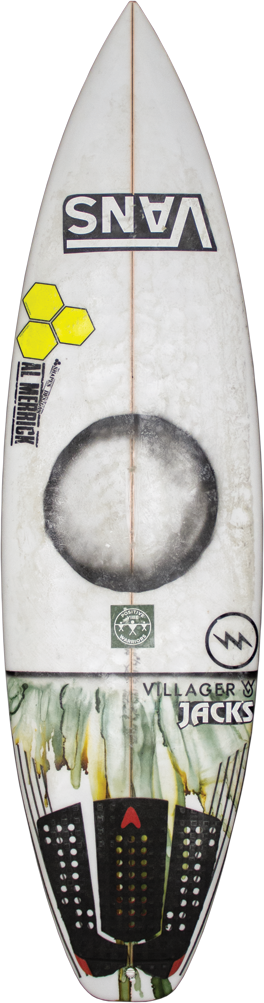
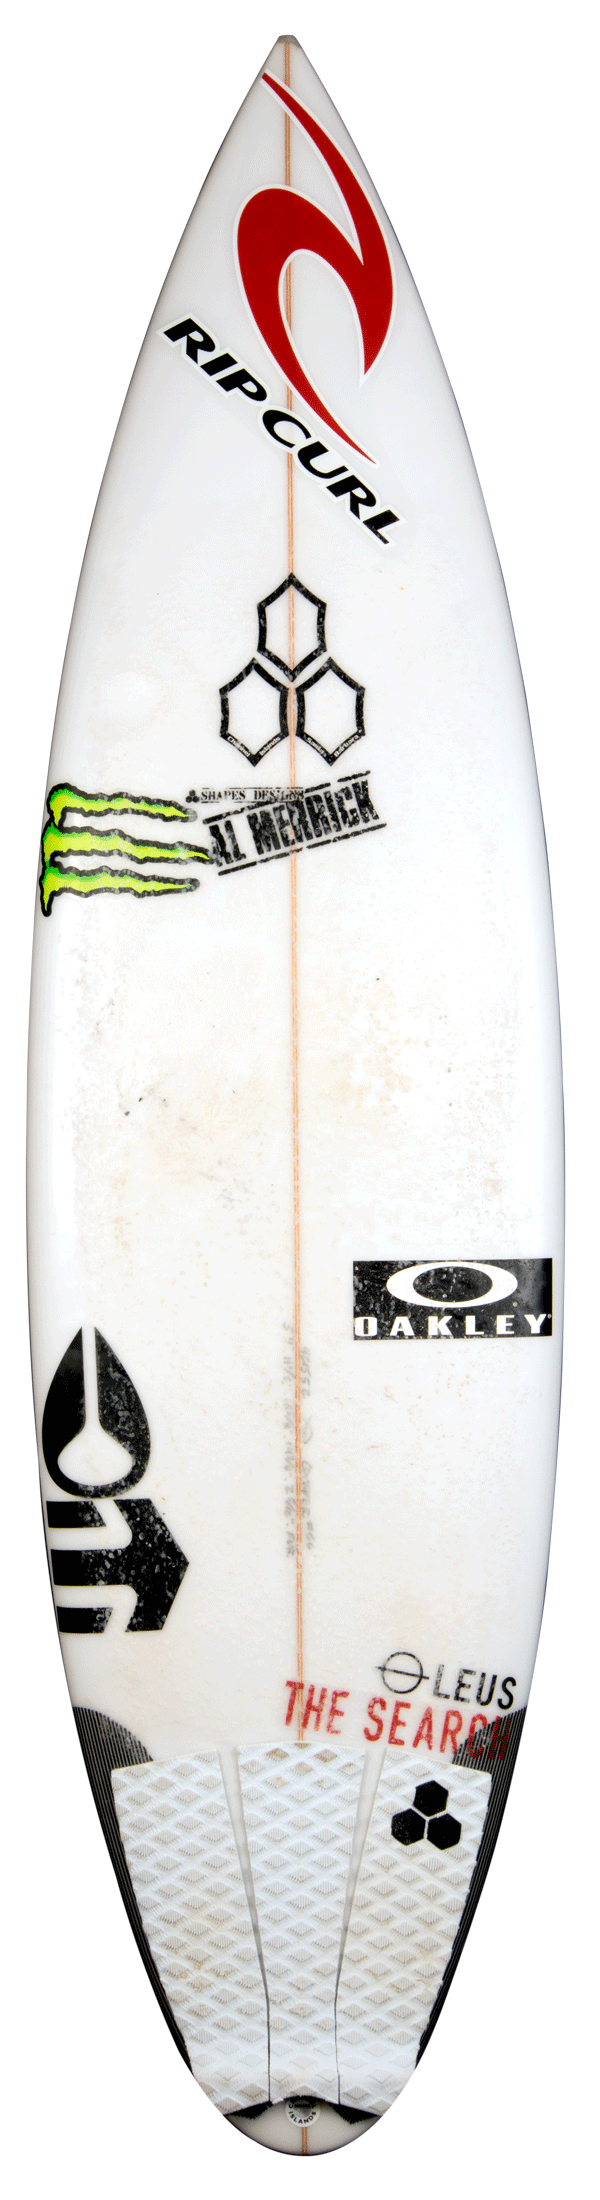
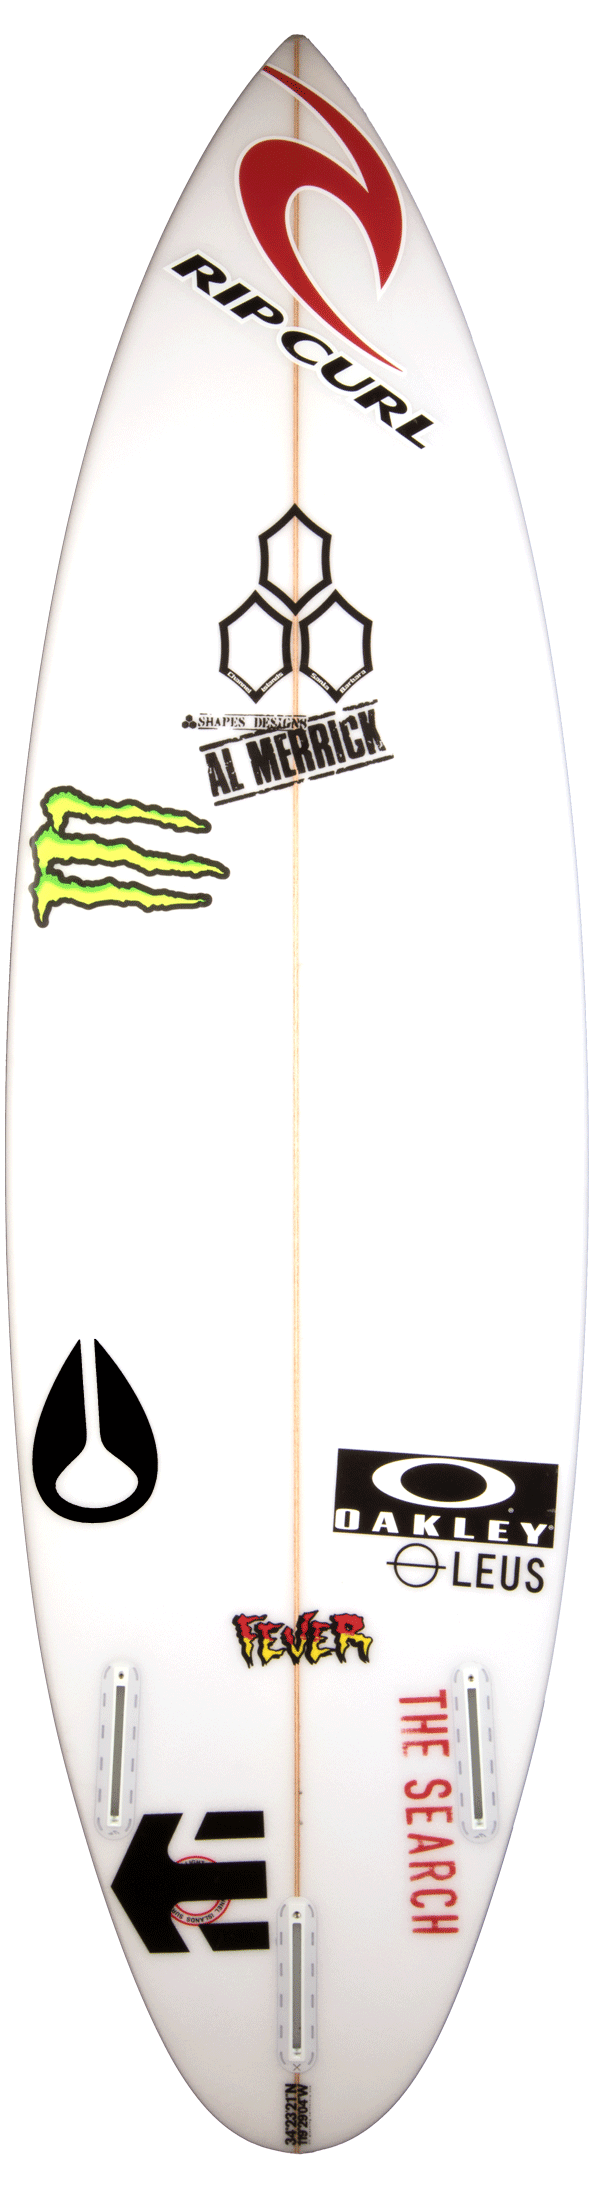
The Fever has its roots in Al Merrick’s trusted and proven high-performance shortboard designs. The goal in designing this board with Mike Andrews and Patrick Gudauskas was to create a more accessible tour level performance board that anyone who jumped onto it would “instantly feel the speed and zest for creativity.” Borrowing Pat’s favorite elements of the Proton, Rookie, and MBM, and combining them with a subtle single concave and lower rocker resulted in a board with a huge sweet spot. With a slightly more parallel outline and forgiving rocker, the Fever has proven to be an all-around design that excels in a wide range of conditions and wave types.
The Fever in the words of Patrick Gudauskas:
Overview: The Fever was born from a desire for an all-around performance board based on elements I love, Speed, Drive, and Flair. My Goal in designing this board with Mike Andrews and Channel Islands was to create a surfboard that I could surf in almost any conditions and have a hell of a good time on it. I wanted a more accessible Tour Performance board that anyone who jumped onto it would instantly feel the speed and zest for creativity.
Conditions: I like to surf my Fever in anything from 2-3 foot softer California style beach break and point break waves, to 6ft+ World Tour style waves, like Snapper, J Bay, Bells, Lowers, Haleiwa, and Backdoor. I prefer to ride it just above my groveler/small wave board, and all the way until I need a step-up or round tail surfboard.
How to Order: Same dimensions as my normal shortboard. For me my normal dims are 5’10” x 18 1/2 x 2 1/4, I have been enjoying a full 2 1/4 just because it gives extra stability and flow to the board, and with the hip on the tail, it can hold a little extra volume through to the rail. Pretty straight forward as your normal dimensions.
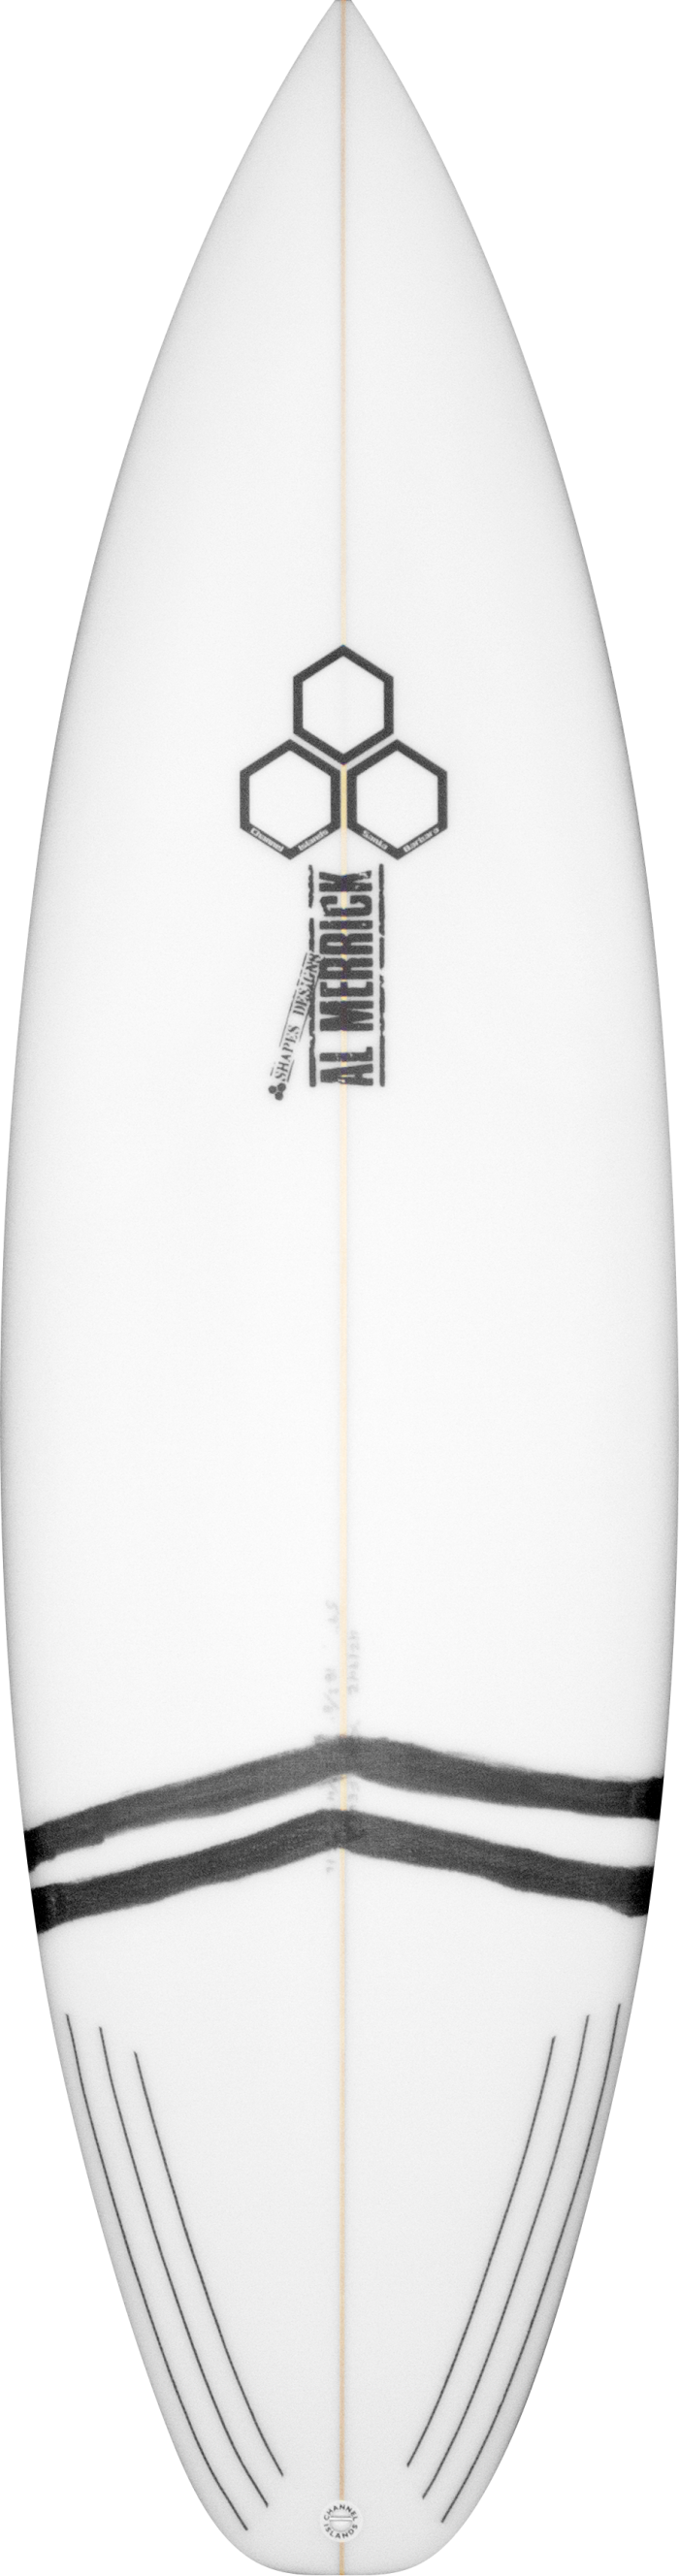
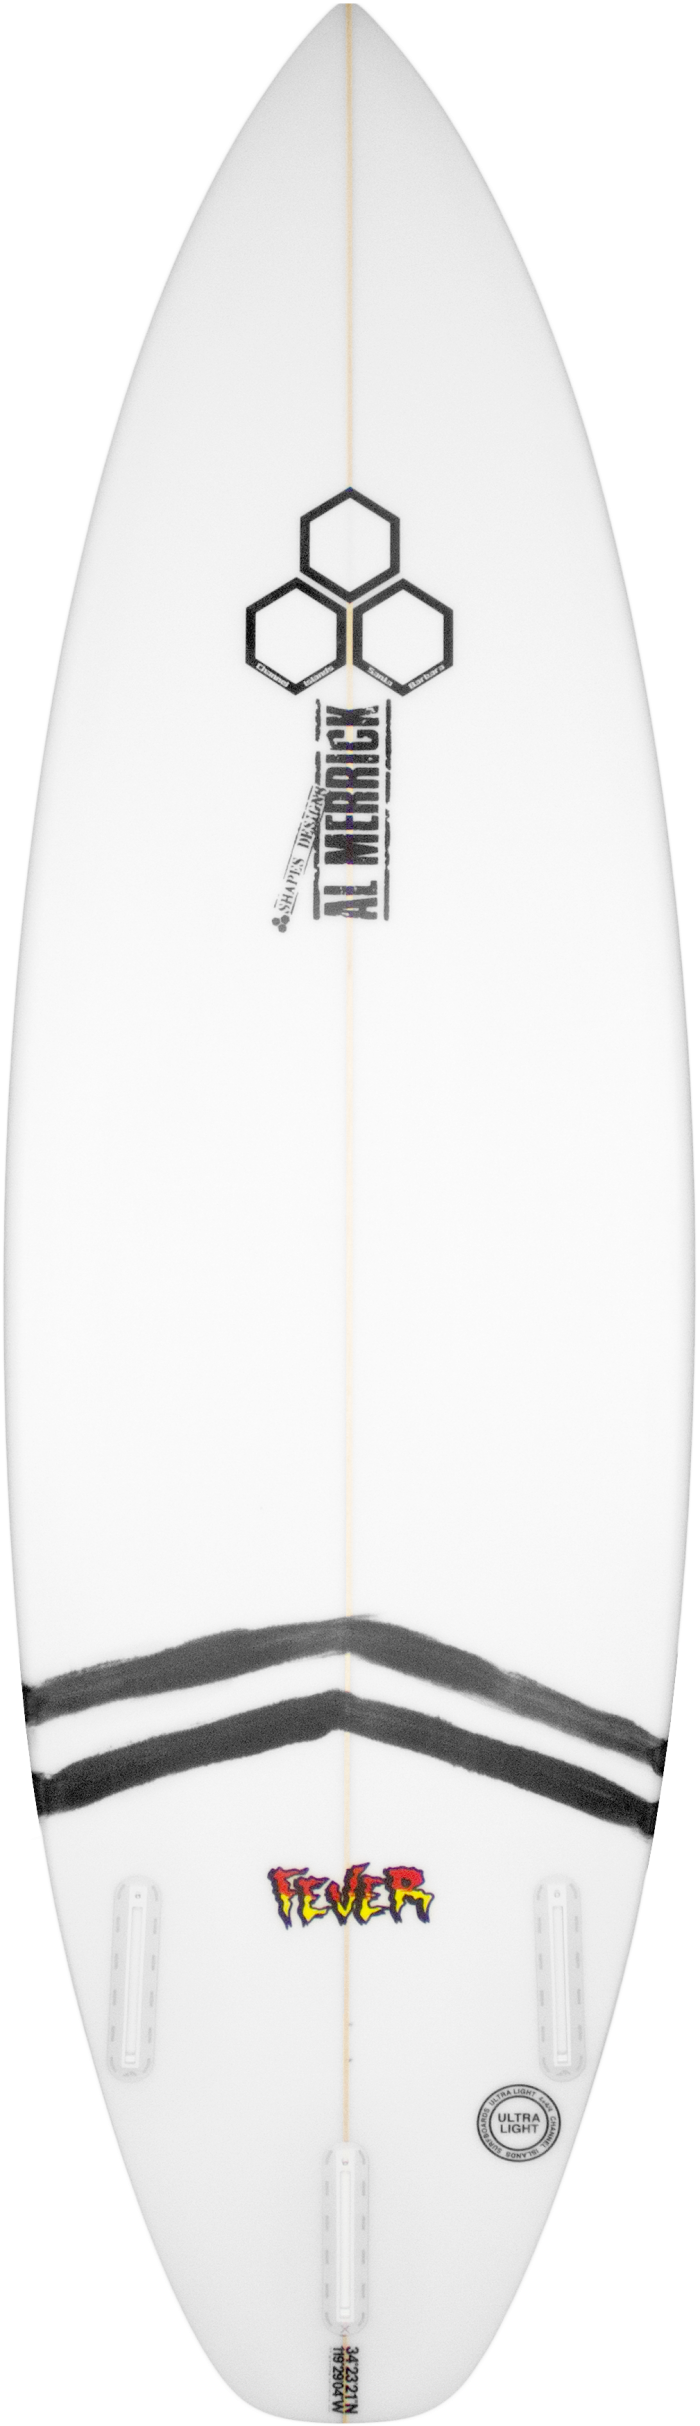
Technical backdrop: The board originated off the Remix (rookie/MBM) which I surfed for several years on the World Tour. I loved these designs but wanted more speed and drive throughout the board. We chopped rockers off the nose and tail to flatten the design out and allow it to fly. We added a single concave, and a tail template inspired by the CI MBM, one of my all-time favorite surfboards by CI. The intention was to give the surfboard drive and control off the back 1/3 of the surfboard, so it could be fast, but also dominate in big sections and hollow bowls. The goal, making it a reliable, easy to access sweet spot for maximum flair.
Background how the Fever came to be: The Fever stands for speed and drive. For me, as a Channel Islands team rider of 16 years, I have ridden almost all the models that Al Merrick and CI Surfboards have designed and loved them all in their own individual ways. Most recently, I had been searching for a board that could encompass all my favorite boards into one surfboard. I wanted it to be easily accessible to find the sweet spot and to keep me inspired to surf creatively in all conditions be it small onshore beach break, or perfect reeling point break 6 – 8 foot. In the years leading up to the FEVER, I spent a lot of time on the world tour surfing really good waves. I spent a lot of time surfing boards like the Rookie, The Proton, the T-low, and the MBM. The thing that I realized, was that each board in its own way served a style or purpose to the waves I was riding. The Proton felt amazing in hollow or powerful waves where the curve of the board suited the curve of the wave face, but when the wave went flat suddenly it felt like I was pushing water or losing speed. The Rookie/Rook15 felt great in Bells Beach style waves where there was an open face for big arcs and turns, but for me struggled in punchy quick beach break style waves. I was finding that in my quiver I had either a board that was one thing, or another, but not both. This is where the Fever was born, from a desire for an all-around performance board based on elements I love, speed, drive, and flair. My goal in designing this board with Mike Andrews and Channel Islands was to create a board that you could surf in almost all conditions and have a hell of a good time on it. I wanted a more accessible Tour Performance board that anyone who jumped onto it would instantly feel the speed and zest for creativity. For the design, we lowered the rockers of my existing boards, added the hip on the tail to give it maximum speed, and maximum drive/control. With the single concave and simple outline, the Fever has become my favorite surfboard. In my mind, the Fever is a board of Speed, Flair, and Drive with a dependable sweet spot for paramount fun. Enjoy!
Design in the words of the shaper, Mike Andrews: “FEVER”. The fever has its roots in Al’s trusted and proven high-performance shortboard series. What we did is we looked at some parts of a few different models Pat loves, including the Rookie/Remix/Mbm and the Proton. From the Rookie, we stole the “engine room” i.e., the entry rocker and the rail rocker leading into the fins, but lowered the overall rocker. We also used the slightly shallower concave found on Al’s Remix, compared to the Rookie, helping it be more adaptable in less than perfect waves. From the MBM we took Al’s hip squash, which gives great pivot off the bottom and awesome release in the lip. We then gave it a slightly wider nose and tail than the Rookie, which makes the outline a lil more parallel like the Proton, this produces more drive…and there you have it, Pat’s Fever. Still a very high-performance board but one that’s a bit more of an all-rounder and very versatile in a wider range of conditions which is exactly what Pat was searching for!